Setting a Service Sequence for Testing of components
If you undertake partial or parcentage testing in a larger site, you may wish to set the sequence for testing for all your components.
This will result in those devices being highlighted on the appropriate visit within the Component Test screen.
So for example if you have a site where you service 25% of the items on each of four visits, then you can allocate each component to one of service cycle - 1,2,3,4 or ALL.
For those items allocated to Service Cycle 1 then on visit 1 of 4 , the items will be highlighted to the engineer , on the second visit those in cycle 2 highlighted and so on.
This allows a level of traceability that will satisfy all UKAS standards ensuring your responsibilities have been undertaken in a way which is beyond any reproach in the event of any subsequent system failure.
In order to do this.
A : Firstly Add your items to The Components Tab within the Installations Module
B: Then set your components to a Test Sequence.
- Highlight the Components to set by selecting the row headers.
- Right mouse click and select Set Test Sequence
- At the drop down box select the test sequence that you wish these components to be highlighted in.

The number of test sequences displayed which can be selected will be deteremined by the contract in operation. So if a two service cycle exists for thei installation you would have 1, 2 and All and so on.
C: How the engineer marks these items as tested upon completion.
- Load the Engineer Web Application
- Complete the appointment as normal including test questions.
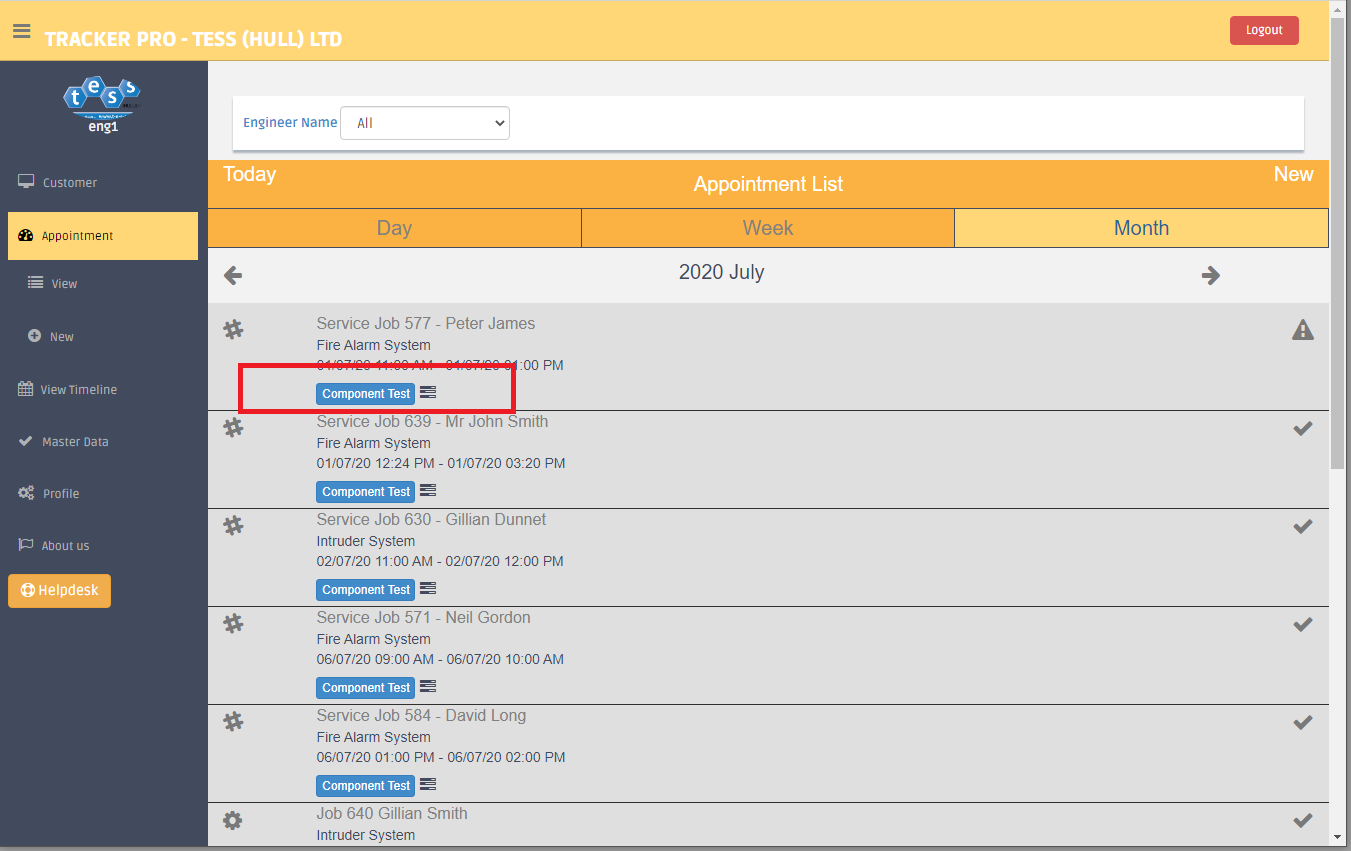
- Click on the Components Test button
- Complete the test results for all the components highlighted as due testing on this visit.


To note that the Grid selected should be pass / fail style Grid2 normally. Grid1 style allows circuit readings to be entred by zone and is more applicable to Intruder. This can be chanaged by the engineer through the drop down highlighted below in the Red box.
Related Articles
Sample Service Reports
Service Reports which will be generated off the shelf without any customisation are included below. The Two Reports that have been used to generate these outputs are contained in the Jobs Module and are the following two : TestResultJb2.rpx - ...Turning on the Tracker Pro Service
The Tracker Pro service is a service that runs in the background on a Windows PC and synchronises your filing cabinet between the Stealth Systems cloud SFTP file servers, any Remote WAN PCs and Local Server PCs. The architecture of the system allows ...Setting Up Email to enable outgoing mail
Tracker Pro handles all outgoing email via its onboard tools to send any Tracker Pro email. This has to be configured with appropriate credentials and SMTP settings. The SMTP settings and credentials will be similar if not the same as the settings ...Setup SFTP Service allowing Filing Cabinet to be shared
Tracker Pro has an onboard SFTP Service. This allows filing cabinet files stored to be loaded on the engineer web app and also the customer webapp. It additionally allows any Remote WAN Client Installations of Tracker Pro ( remote office workers) ...Monthly Service Invoice Creation
Service Invoices are invoices relating to Contracts. These can be run and created at any time individually for each system, for a range of systems or they can be generated in one process for all systems. To generate service invoices complete the ...